
Trini Tile's Latest
News/Updates


How to Replace a Broken Tile
November 27, 2025
A broken tile is a headache, but it is absolutely something you can fix yourself without too much time, effort, or expertise. All you need to do is remove the existing tile, clean the subsurface, place a new tile, and apply fresh grout. To help you along, we’ve provided a step-by-step breakdown of the process.
Finding a Replacement Tile
If you’re installing tile floors or a backsplash, it’s always good practice to keep a few extra tiles on hand, and this is common practice if your tiles were originally installed professionally. Have a look around your storage or utility room for a replacement. If you don’t find anything, you can try matching your tile at a hardware store with a picture and the dimensions.
Gather Your Tools
To replace a broken tile, you’ll need a few basic tools. We’ve added links to some of our favourite options for tile-specific tools.
Tile-Specific Tools
- Handheld Grout Saw
- Triangular Grout Removal Tool
- Retractable Utility Knife
- Pre-Mixed Grout
- Tile Grout Float
- Notched Trowel
- Thin-Set Mortar
- Grout Sealant
- Oscillating Multi Tool (optional)
Other Tools
- Chisel
- Hammer
- Safety Glasses
- Work Gloves
- Sponge
- Hand Towel
1. Remove the Grout
You’ll begin by removing the grout around the perimeter of the broken tile until you’ve reached the tile subsurface. Use a utility knife or grout saw to cut the grout, staying tight to the edge of the broken tile and away from the surrounding tiles. You can use the triangular grout removal tool to get into tighter areas. An oscillating multi tool with a grout removal attachment will speed up the process if you’re replacing several tiles.
2. Loosen the Tile
After you’ve removed the grout, place a hand towel over the broken tile and firmly tap a hammer to crack up the tile. Don’t hit it too hard, as a heavy impact may crack nearby tiles. You can now use a chisel to peel up and chip away the tile, being careful not to bring up the other tiles with it.
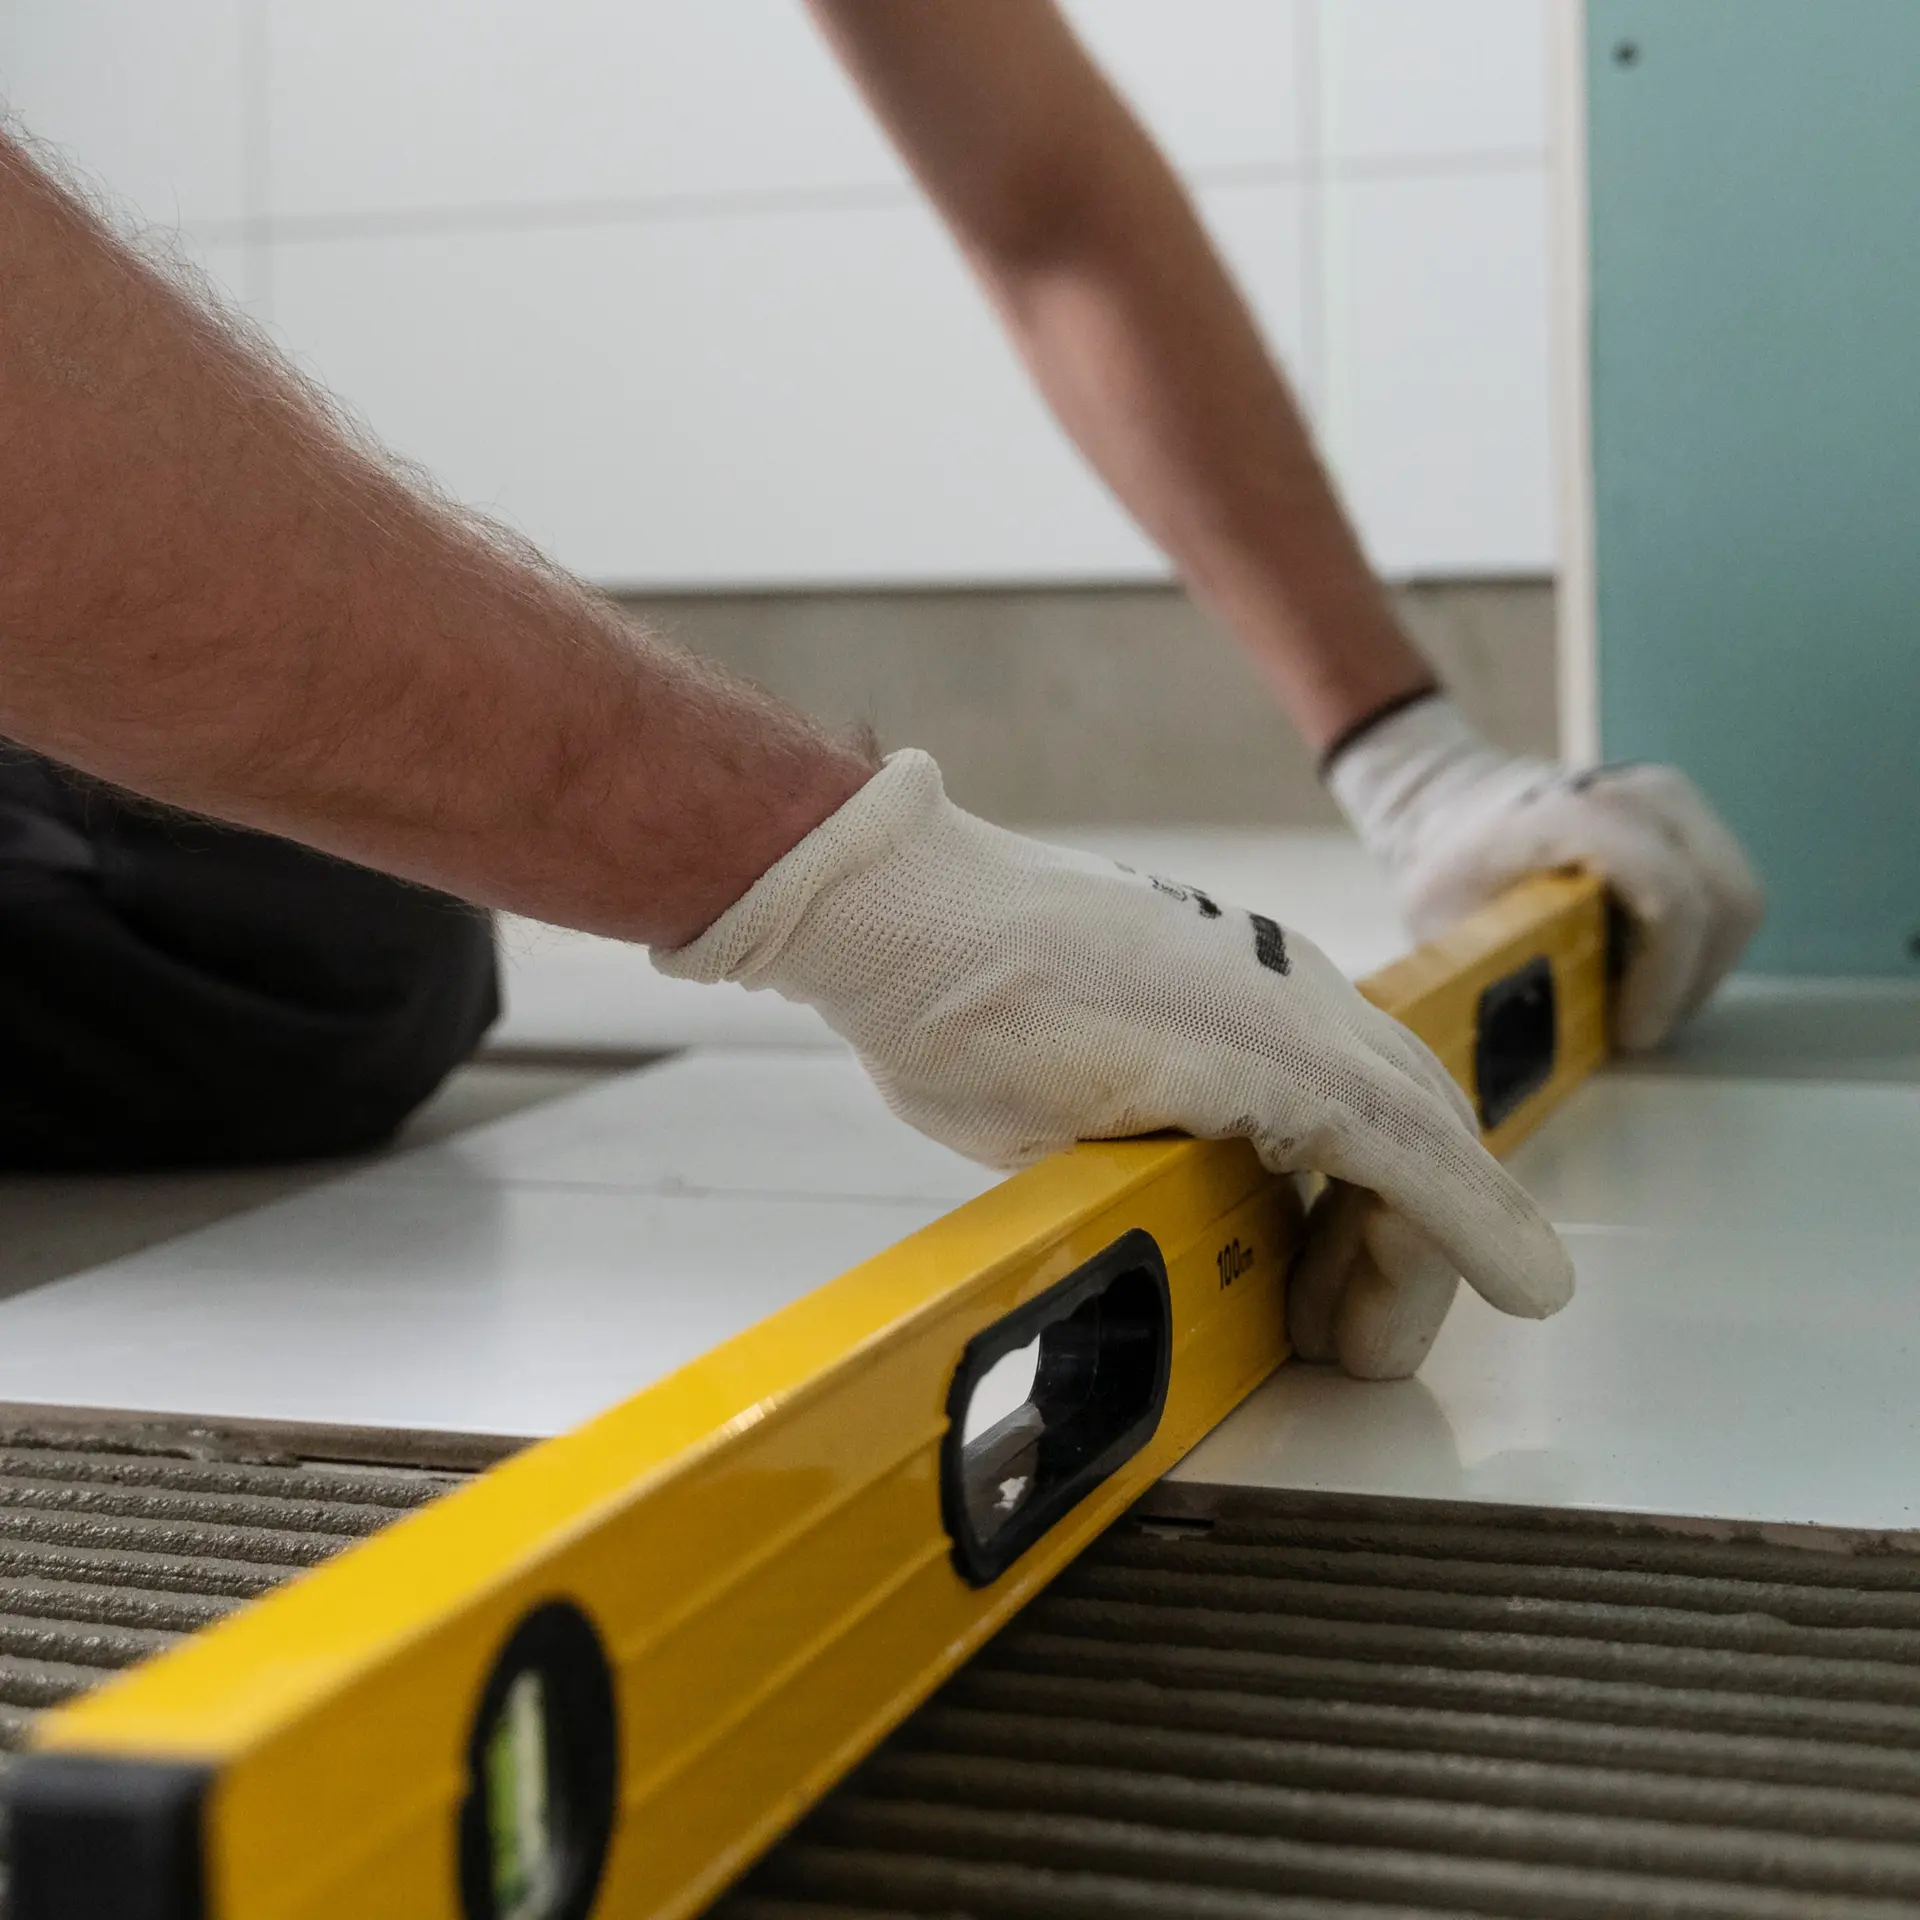
3. Clear the Surface
Once you’ve removed the tile, use your chisel to chip away the old mortar. Make sure to bring it down to the bottom of the tile subsurface. After vacuuming the area, you can dry-fit the tile into the space and use a level to make sure it’s flat. It should be slightly lower than the other tiles, as the thin-set mortar will increase its height.
4. Install the Tile
Mix up the thin-set mortar by following the package’s instructions. You’ll want the mortar to be the consistency of peanut butter. Apply some to the surface, using your notched trowel to spread it evenly and create distinct ridges. Afterwards, you can “back butter” the tile by applying a thin coat of mortar to the bottom of the tile.
Place the tile evenly into the area and press it down to make sure that it’s level with its surroundings. Remove any mortar that oozes out between the tiles, as it will be difficult to remove once it hardens.
5. Grout the Tile
After you’ve allowed the thin-set to cure according to the package’s instructions, you can now grout the tile. For a smaller job, use a pre-mixed grout that matches your existing grout colour. Scoop it onto the tile and use a grout float to spread the grout into the grout line, moving it at a 45-degree angle across the grout line. Let the grout set according to the directions on the package and use a damp sponge to wash all the grout off of the tile surface before it solidifies.
6. Tile Maintenance and Follow Up
Finally, you can apply a grout sealant to the grout, following the package’s instructions. After you’ve installed the tile, make sure not to disturb the tile for 24-48 hours.
Are you looking for advice to guide you through a tile project? Trini Tile has the tiles and expertise to make your next project effortless. Contact us to learn more.