
Trini Tile's Latest
News/Updates


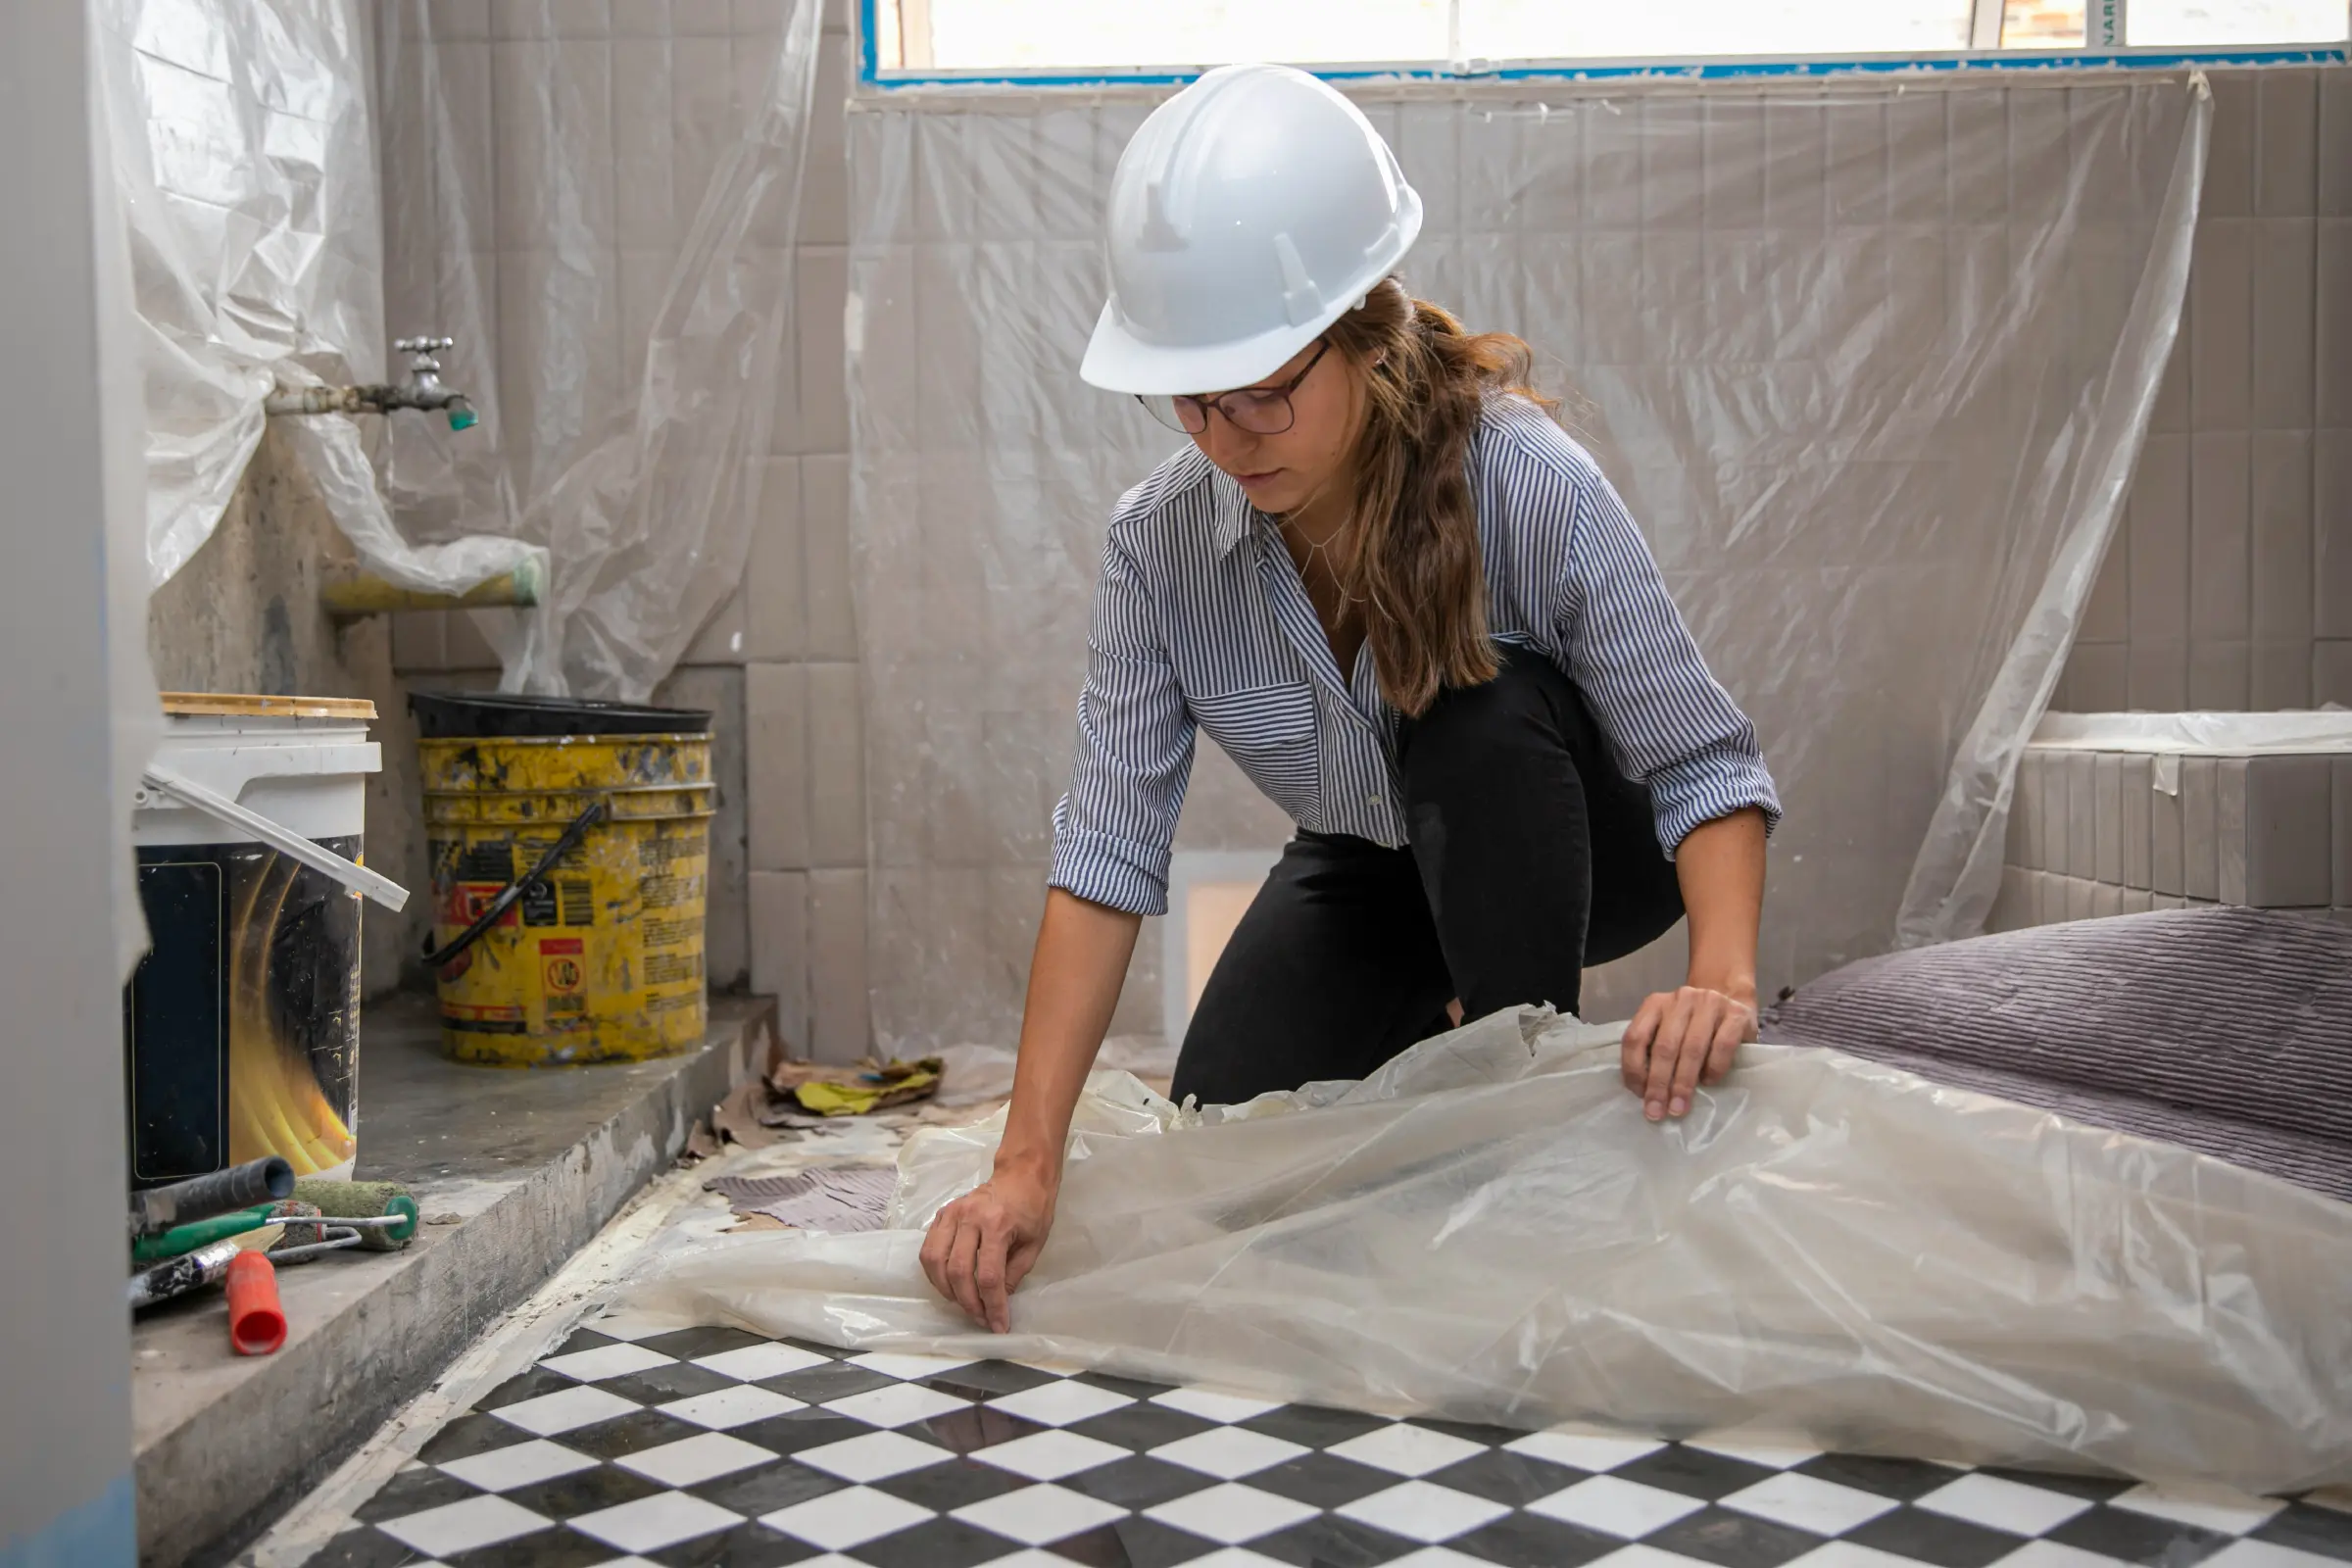
Removing Tile: How to Demo Your Bathroom with Less Mess
March 30, 2026
Scrolling through Instagram and Pinterest, it’s the big spaces that get all the love: kitchens, dining rooms, primary suites. But smaller spaces like half bathrooms have untapped design potential. The smaller size makes them low-pressure and lets you opt for pricier materials. These spaces work best when you go all-out on inspiration to create a striking design moment. It’s your opportunity to go bold and leave your dinner guests impressed.
Ready, Set, Retro
This retro-inspired powder room creates a whole world of its own. The pixelated black and white mosaic is in-your-face playful, and pairs well with retro accents: glossy metal fixtures and an industrial light bulb. While a graphic tile mosaic like this is a costly custom feature, a similar style can be achieved with high-contrast checkerboard tiles. And with a bit of planning, craftsmanship, and artistic finesse, you could create a larger pixelated mosaic with our 4x4 Up Series tiles.
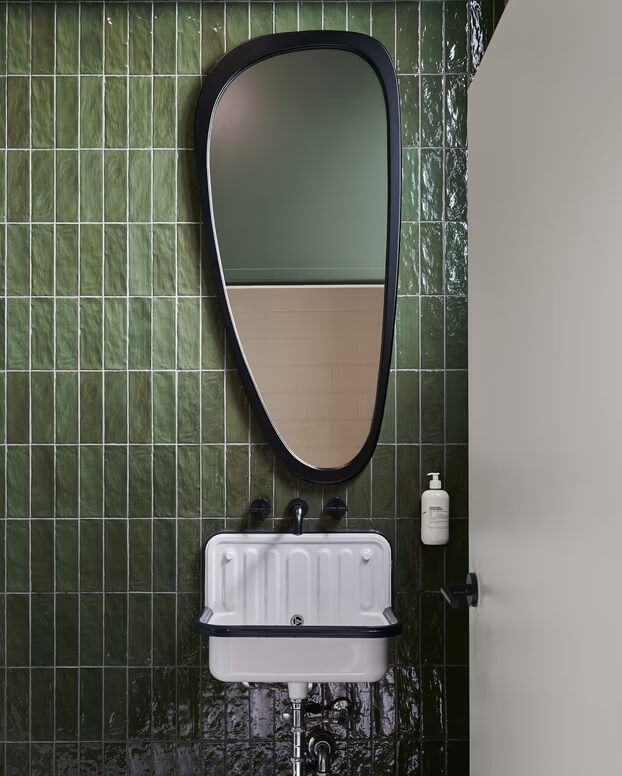
Bet on Texture
Textured tiles are a popular approach, and for good reason. This stunning bathroom by Sam Sacks Design uses dark green textured tiles to accentuate a rustic stone sink and a bamboo mirror. It’s a great way to create a cohesive space with organic accents. We would recommend using tiles like our Trendy and Acuarela collections.
Let the Shapes Shine
This space contrasts straight lines with an oblong mirror (source: marcusiafrate.com).
Another way to add visual interest is by creating contrast between shapes. In this bathroom, designer Marcus Iafrate uses a curved mirror to loosen up the straight lines of the green subway tile. This is easy to achieve with colourful subway tiles and an oblong mirror. It works best for spaces with a modern, experimental edge.
Get it Custom Cut
This bathroom by Pencil Design uses an arched backsplash (source: pencildesign.ca).
This charming bathroom uses an arched backsplash (and a complementary curved mirror) to create a quaint English cottage vibe. This effect is easy to achieve with neutral square tiles and the help of an experienced tile installer.
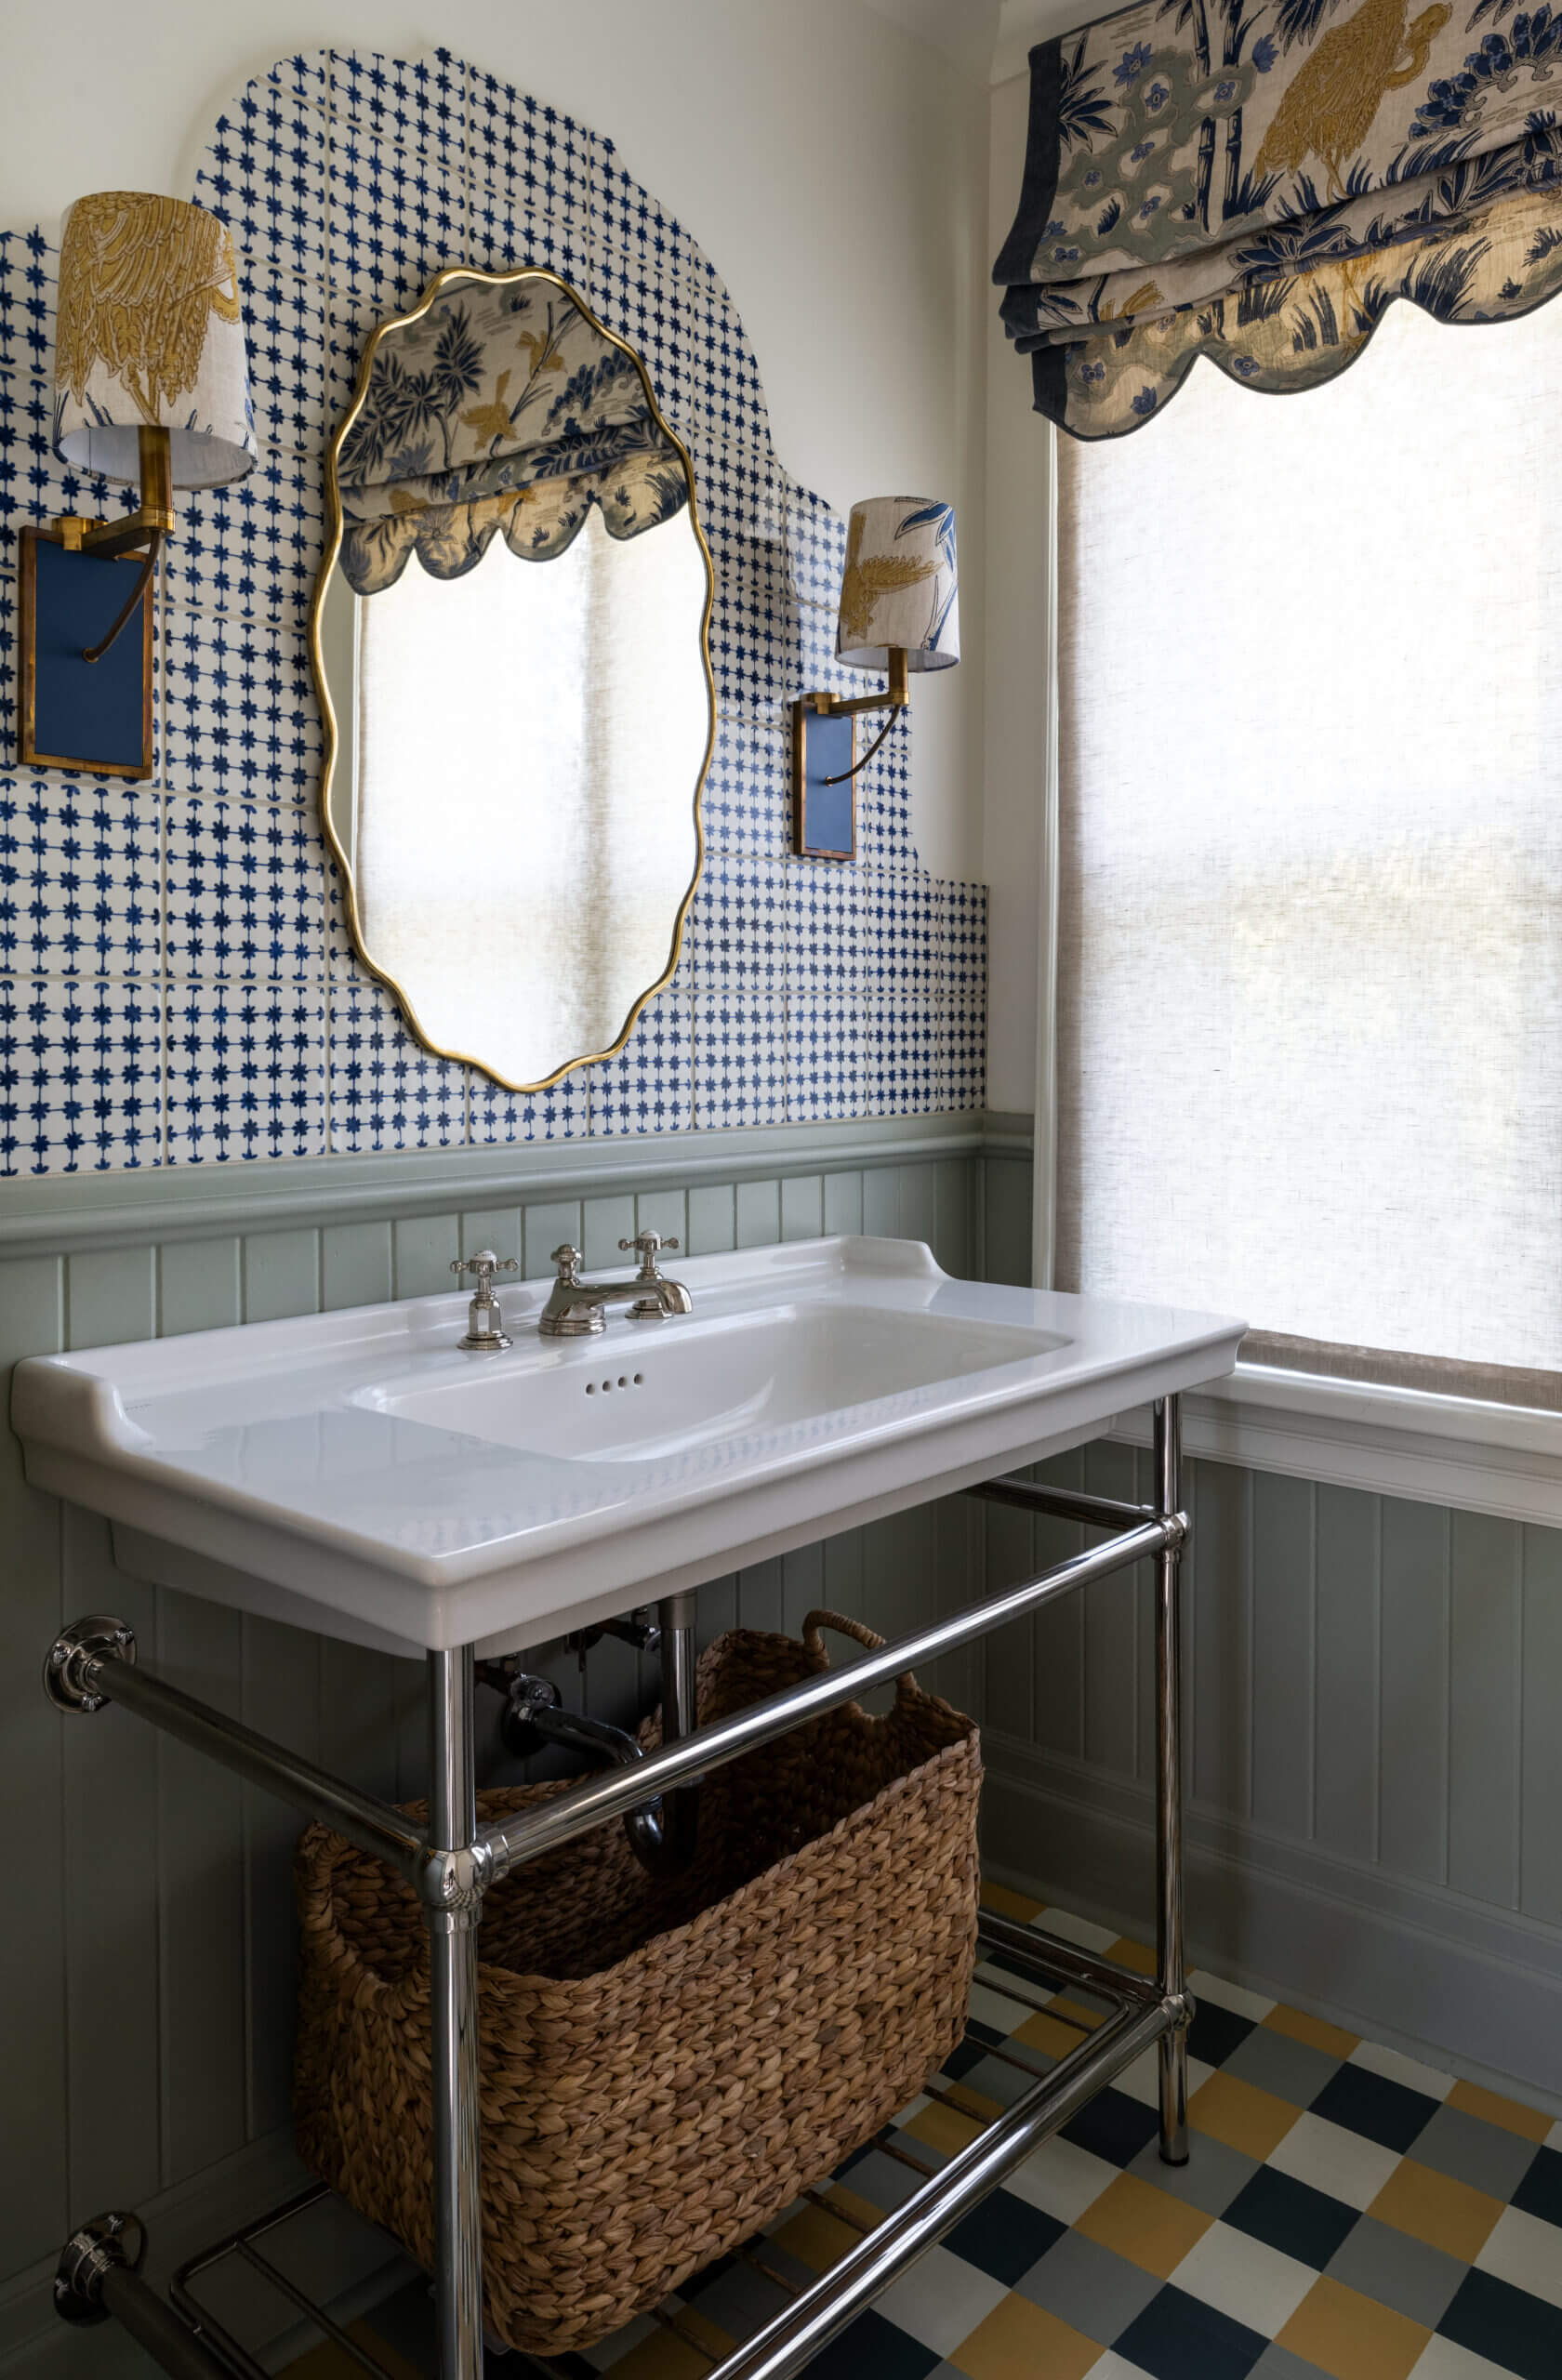
Inspired by Vintage
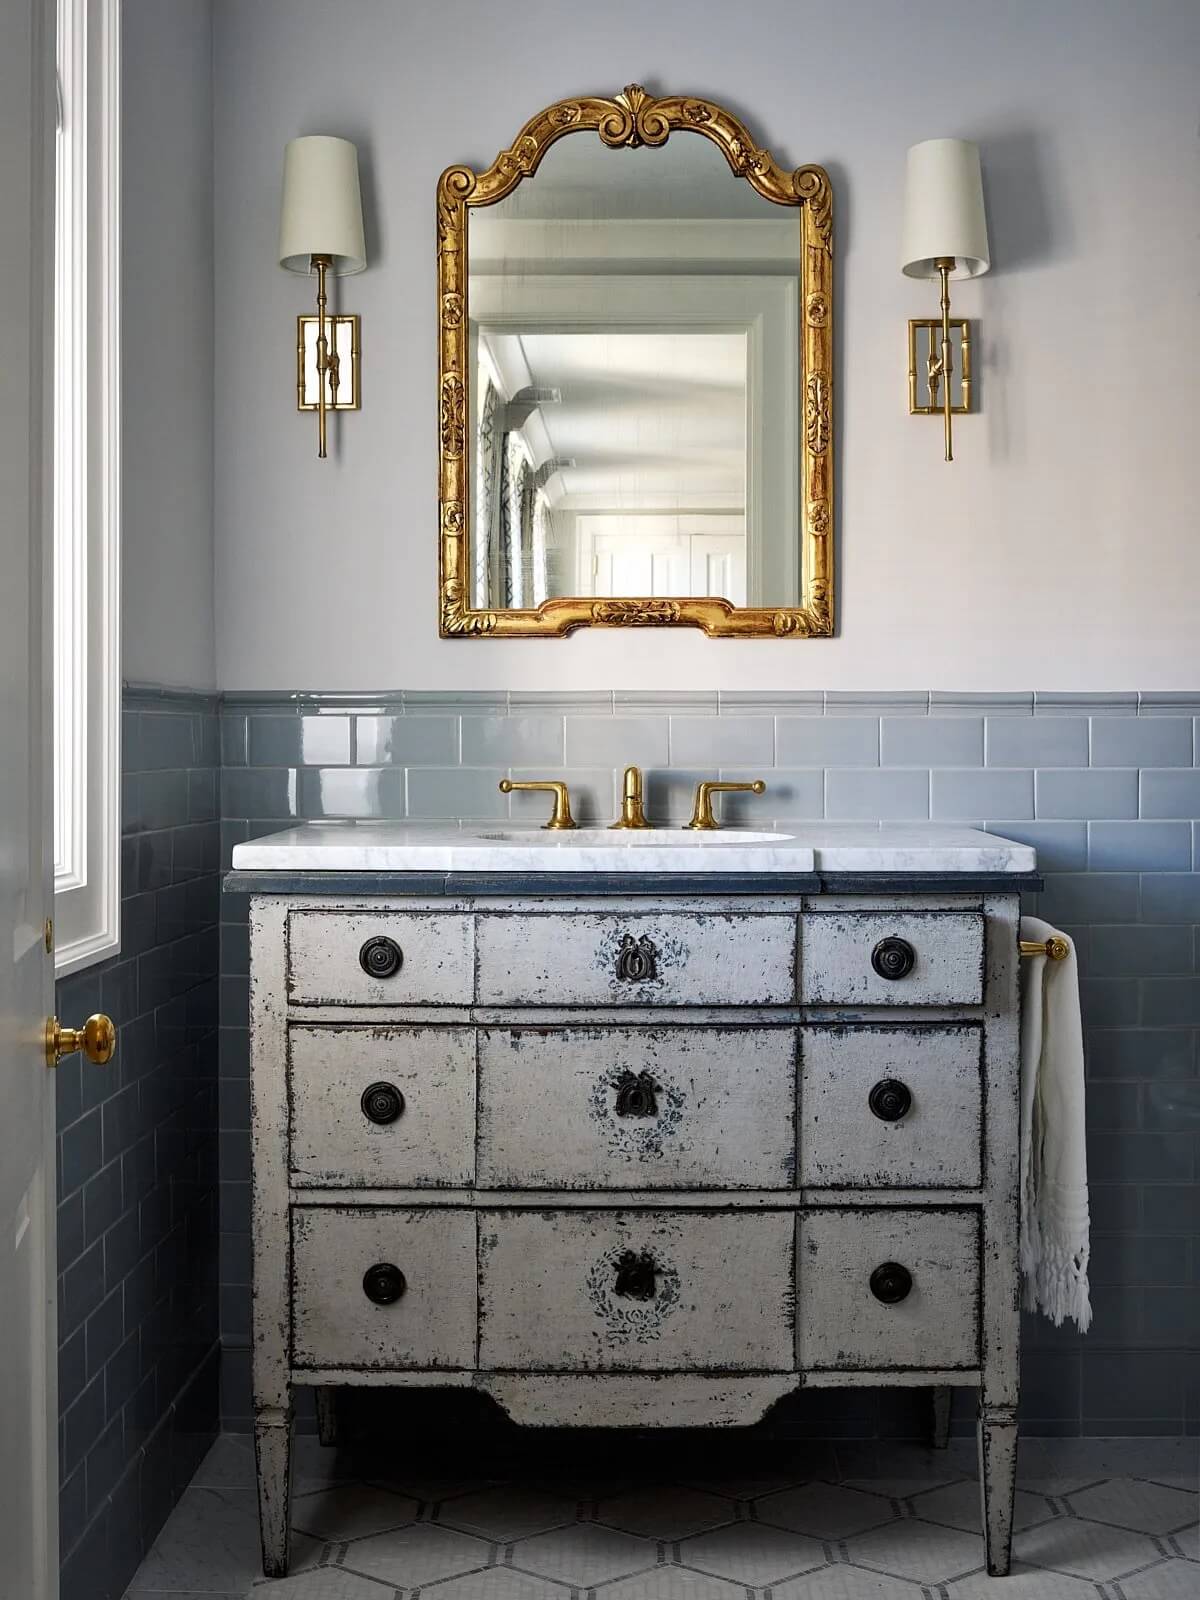
This vintage vanity offers endless charm (source: tomdesigncollective.com).
Another way to add character and cohesiveness to a powder room is by grounding it in an inspiring vintage piece. This bathroom by Tom Design Collective uses an antique dresser to steep the room in tones of deep blue. They carry these colours over to the tile wainscoting and painted walls.
Go Hard in the Paint
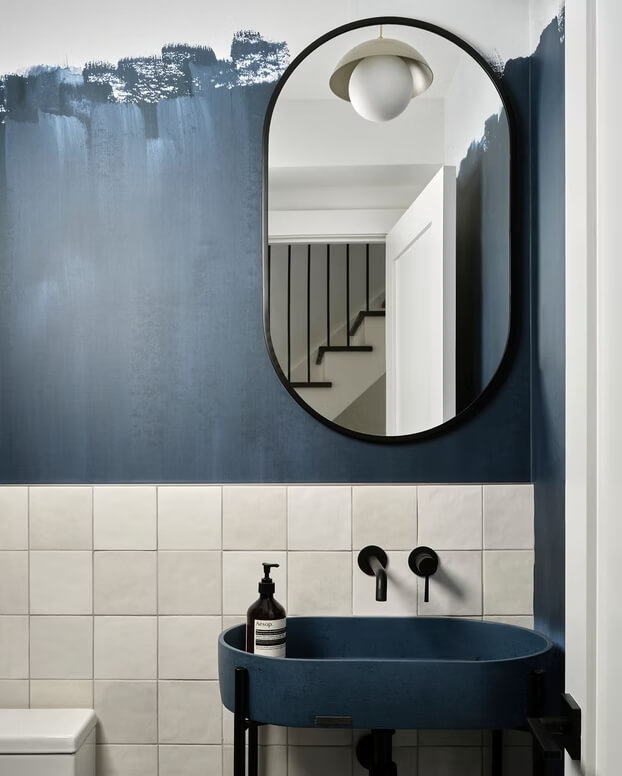
The unfinished paint job adds an experimental design feature (source: marcusiafrate.com).
This bathroom juxtaposes plain white tiles with an unfinished two tone colour wash. The paint job plays well with the dark blue sink and complements the straight-laced tile. You can achieve this effect by selecting a neutral tile and pairing it with an engaging wall feature, like an experimental wallpaper, colour wash, or a custom mural.
Have a specific tile design in mind for your kitchen, bathroom, or other space? Contact our experts today for help navigating our selection of tiles to bring your vision to life.